In this exercise, you will create and run a small Dart project using IntelliJ IDE.
To create a new Dart project, perform the following steps:
1- Open IntelliJ IDEA
2- Click File → New → Project
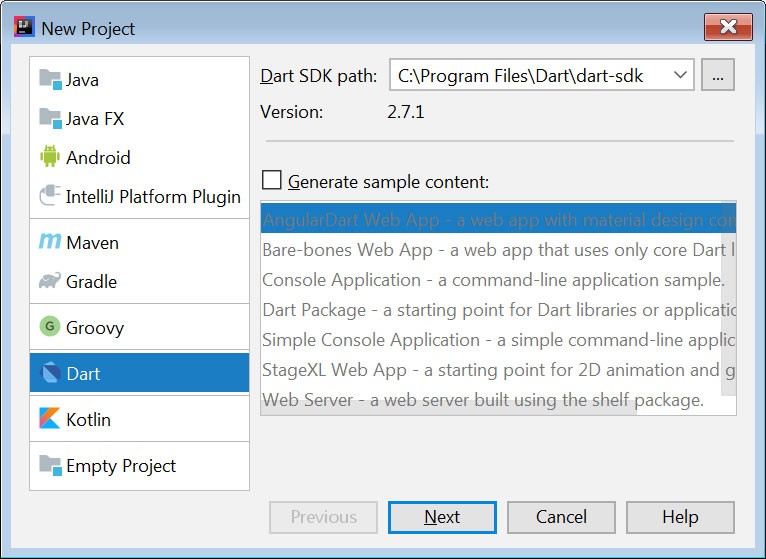
You will get the following figure. Remove the check box for : Generate sample content, then click Next
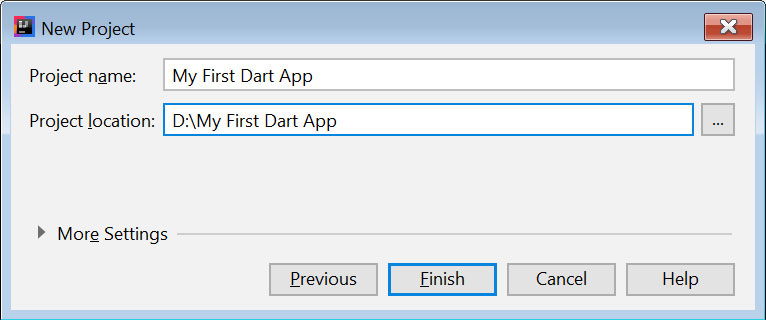
3- In the New Project dialog box, as illustrated in the below figure, type the Project
Name: My First Dart App, then click Finish.
Click OK to create this project directory.
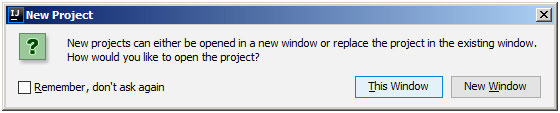
4- In the below figure, click This Window
5- You will get the following figure :
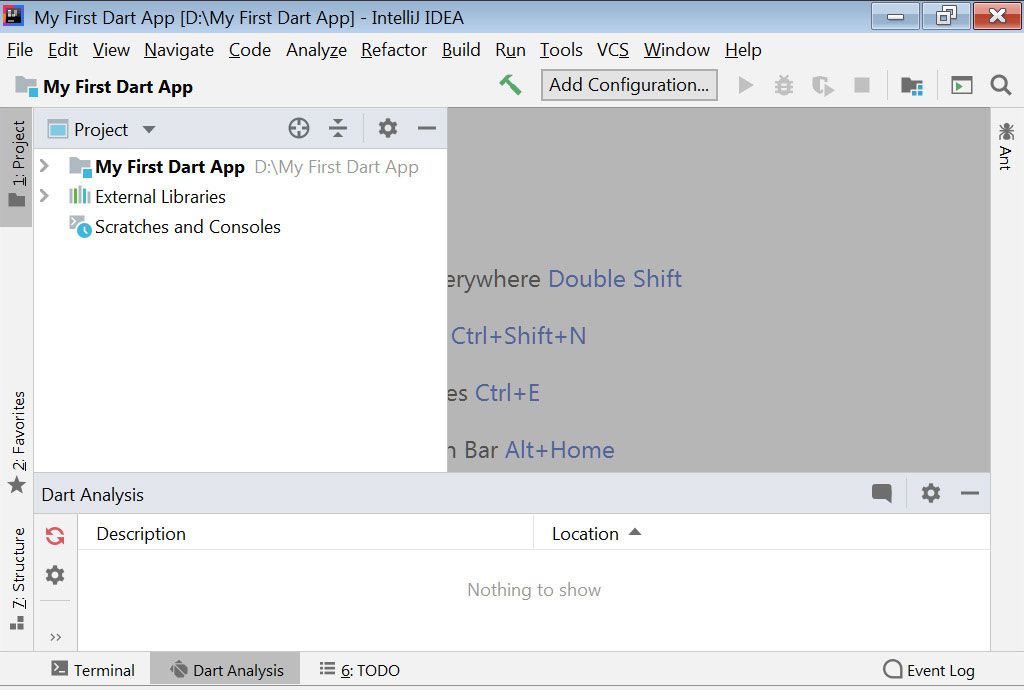
6- In the Project console, right click the project name :
“My First Dart App” → New → Dart File
As illustrated in the figure below, type : main for the file name, then press Enter.

You will get the following figure:
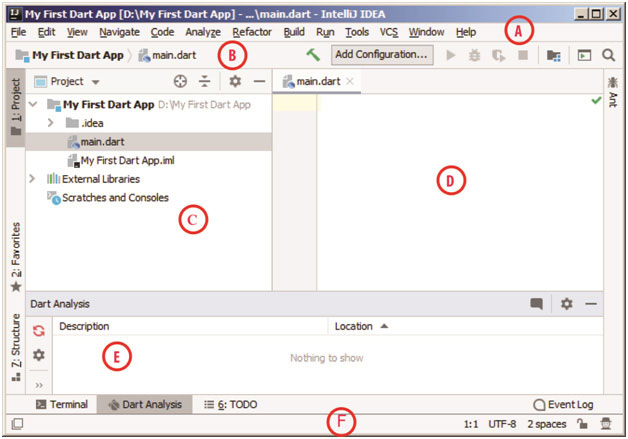
In the previous figure, we have labeled the IntelliJ interface parts as follows :
A : Menu and Tools Bar
B: Navigation Bar
C: Project Console
D : Editor Window
E: Tool Window
F: Status Bar
7- In the editor window, type the following code:
main() {

}
As illustrated in the following figure:
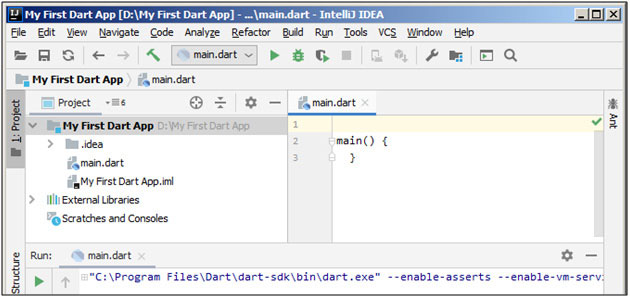
main() is a method and you must write the entire code within the two braces {} of
this main method.
8- Write the following code within the two braces of the main method as follows:
main() {

  print('Welcome to Android ATC');

}
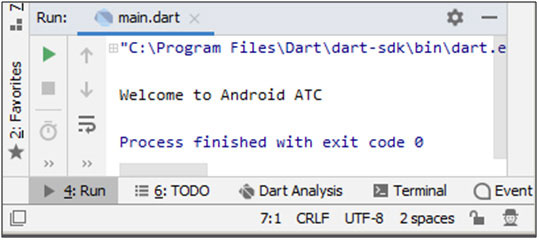
The print method is used in Dart to print text or variable value in the Run console as illustrated in the figure below.
Then, from Run menu, click Run. You will get the following run result:
* This topic is a part of lesson 1 of Flutter Application Development course. For more information about this course, click here.