Follow the following steps to download IntelliJ IDEA:
1- Go to: https://www.jetbrains.com/idea/download
You will get the following download web page:

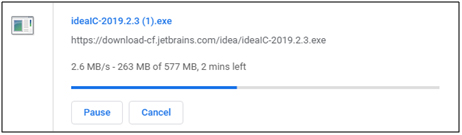
2- Under Community, Click DOWNLOAD button. The download process will start to
download IntelliJ IDEA as illustrated in the following figure. The size of this file is
about 577 MB.
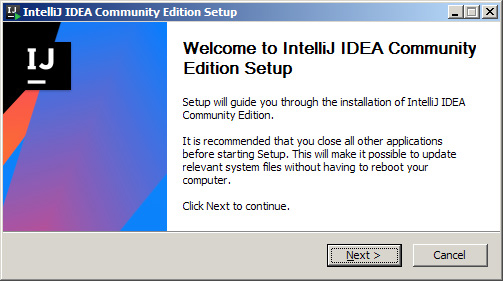
3- In the below figure, click Next
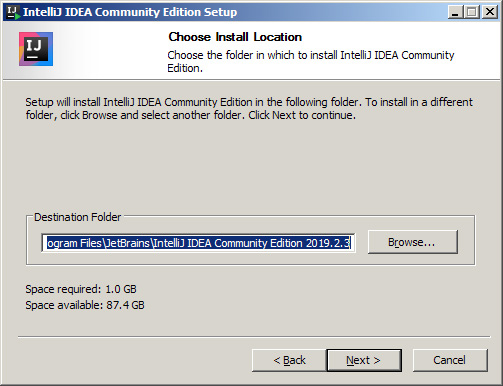
4- Keep the default destination folder, then click Next
5- Our plan is to use IntelliJ to develop Dart ; therefore , no need to select any of the
below choices. Click Next

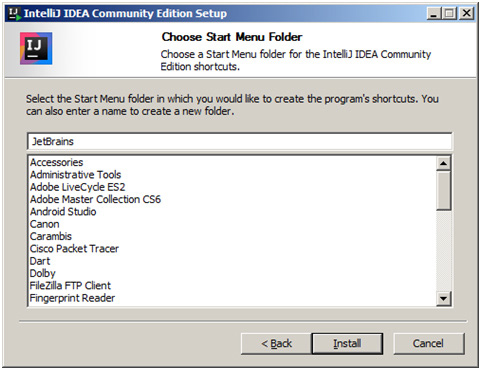
6- Keep the default start menu folder as illustrated in the below figure. Click Install
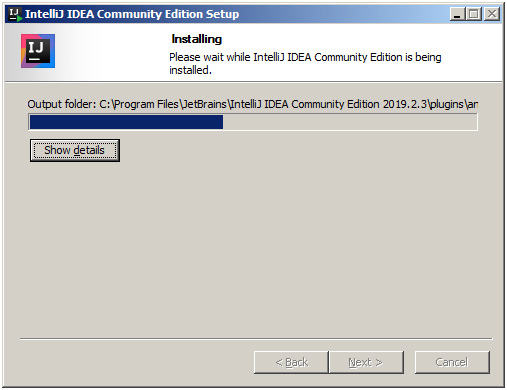
The installation process will start as illustrated in the below figure:
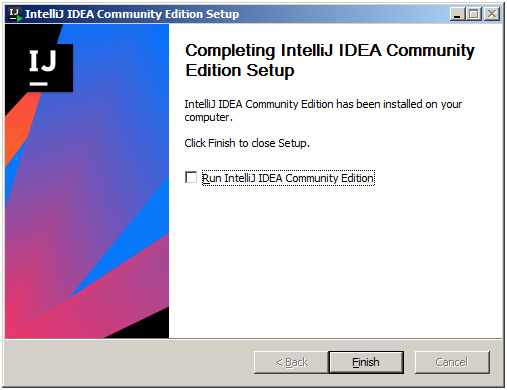
7- You will get the following figure. Click Finish
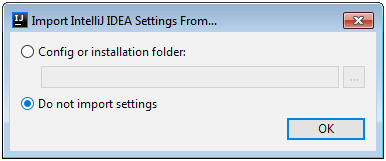
8- As illustrated in the below image, select Do not import settings because it is a
new installation ; therefore , there are no previous settings to import , then click OK
9- In the this step, select I confirm that I read and accept the terms of this User
Agreement, then click Continue.

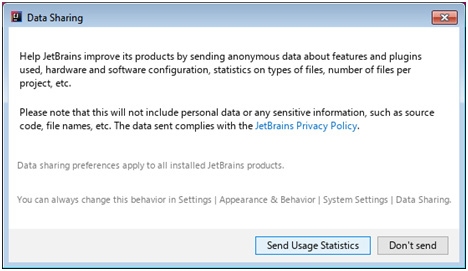
10- In this step, as illustrated in the below figure , click Don't send
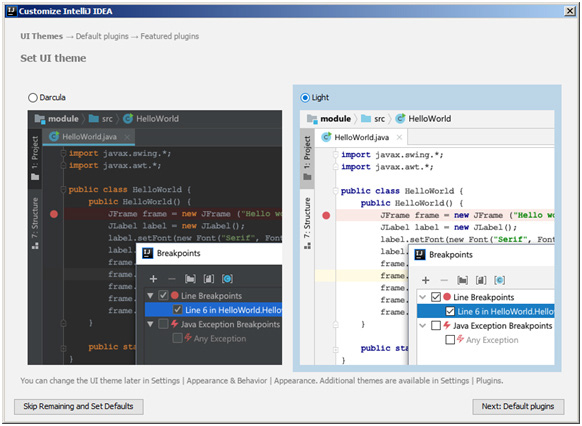
11- In this step, you may select your IntelliJ IDEA user interface theme. Almost most
developers select Darcula theme because it is more comfortable for eyes; however,
we will select Light theme for printing considerations. Select Light or Darcula , then
click Next Default plugins
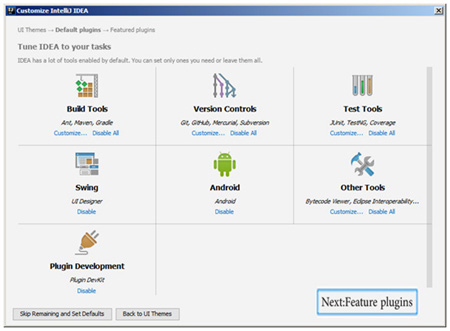
12- In this step, click Next: Feature plugins
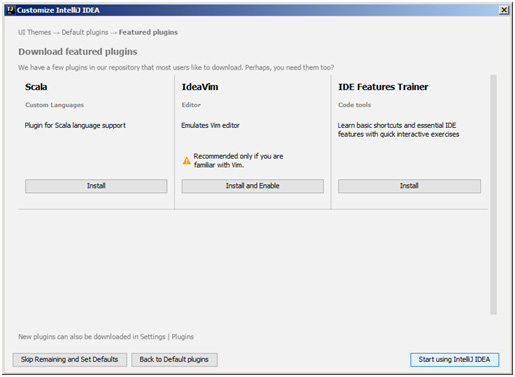
13- Click Start using IntelliJ IDEA
14- You will get the following IntelliJ IDEA startup dialog box.
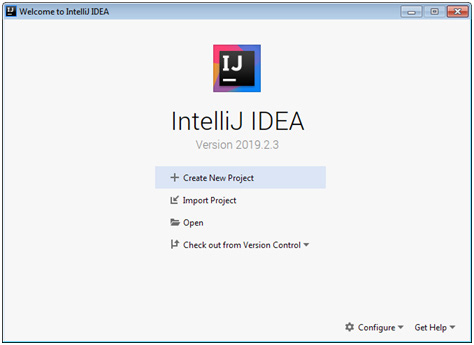
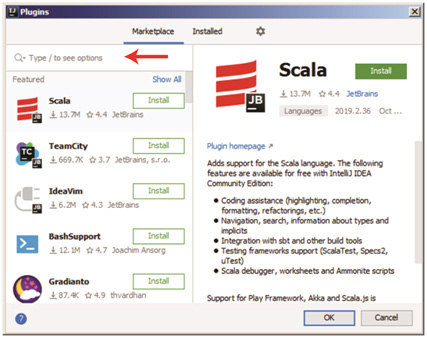
15- Now, you will install Dart plugins which will make the connection between
IntelliJ IDEA and Dart SDK. Click Configure, then select Plugins as illustrated in the
below figure:

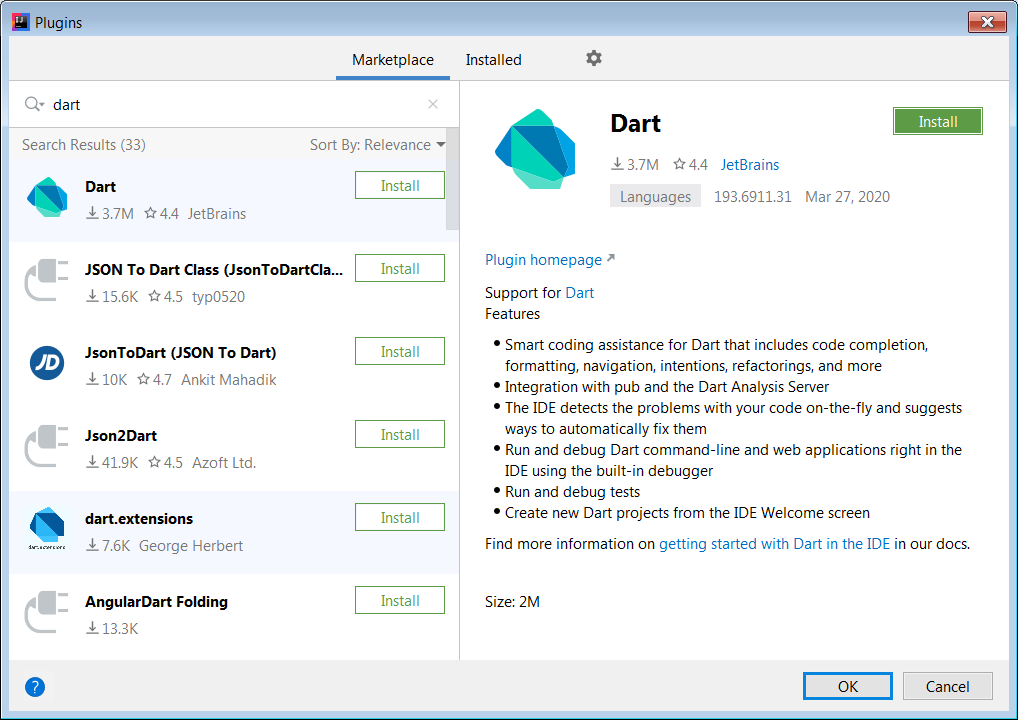
16- You will get the following figure. Move your mouse cursor to the search area as
illustrated in the blow figure, type Dart, and then press Enter key
17- You will get the following figure. Click Install
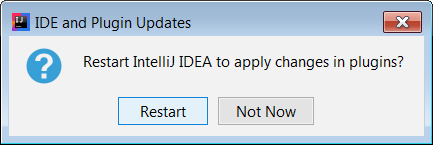
18 - After completing the Dart plug-in installation step, click Restart IDE .

19 - Click Restart.
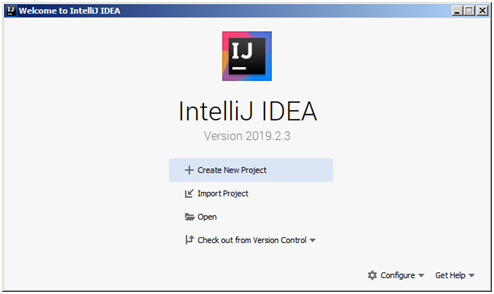
20 - Click Create New Project.
21- To connect IntelliJ IDEA with Dart SDK, as illustrated in the below figure, click
Dart in the left side.

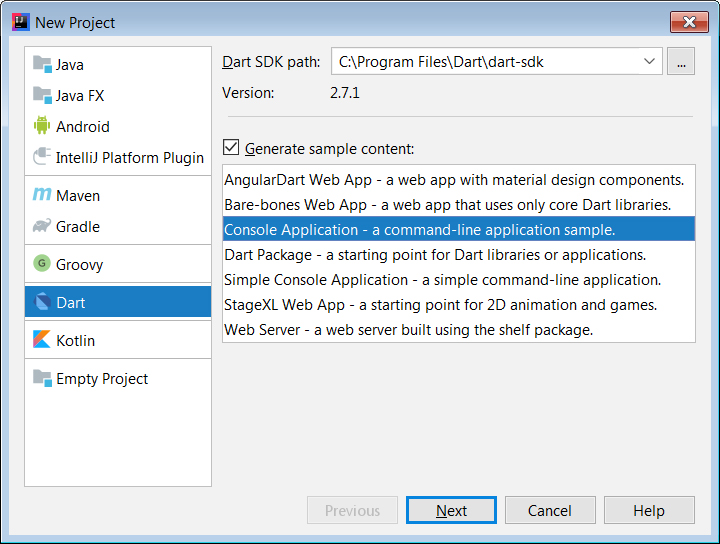
22- Configure the Dart SDK path on your computer. Click the browse button, then
click your Dart SDK path. As illustrated in the below figure, Dart SDK path is :
C:\Program Files\Dart\dart-sdk
To generate a sample code just to test the working of IntelliJ IDEA with Dart, select
Console Application - a command-line application sample , and then click Next
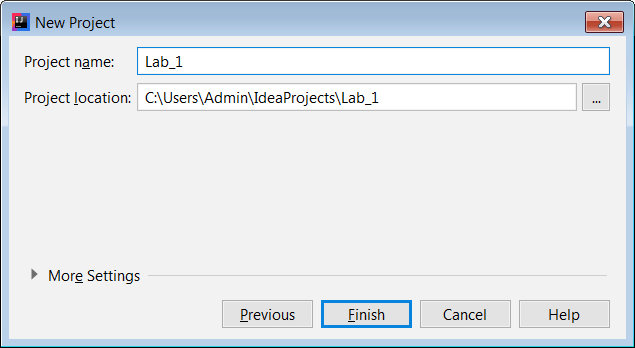
23- As illustrated in the next figure, type the Project name: Lab_1, then click Finish
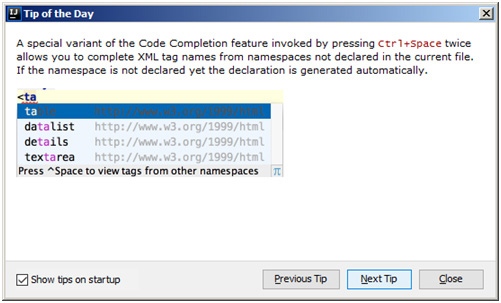
24- Remove the check mark at Show tips on startup as illustrated in the below
figure, and click Close
25- You will get the following sample code.
main(List
print('Hello world: ${Test.calculate()}!');
}
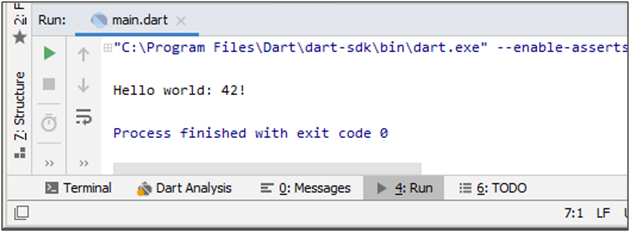
Now, we will run this sample code just to be sure that IntelliJ IDEA works fine with Dart configuration. Click Run button or click Run menu → Run
As illustrated in the below figure, you will get the following run code result:
"Hello world: 42 !", this means IntelliJ IDEA works fine.
* This topic is a part of lesson 1 of Flutter Application Development course. For more information about this course, click here.